Prevention of Glue Bleeding on Paper Cup With Handle Machine
Publish Time:
Author:
Mingguo
Visit: 10

You’ve seen it before: a freshly formed cup comes off the line, and there’s a yellowish stain seeping out from where the handle attaches. It’s glue bleeding—and it turns a perfectly good cup into a reject.
Glue bleeding on a Paper Cup Machine isn’t just an aesthetic issue. It affects customer perception, creates waste, and slows down production when you have to cull stained cups. The good news is that it’s entirely preventable. The key is understanding the relationship between glue type, application amount, temperature, and curing time.
This guide covers five specific prevention strategies. We’ll start with glue selection—because the right adhesive makes all the difference. Then we’ll move to calibration, temperature optimization, cleaning routines, and pressure settings. By the end, you’ll have a systematic approach to keeping glue where it belongs—on the handle, not on the cup surface.
Not all adhesives behave the same way. The right glue for your application is the first defense against bleeding.
Water-based glues have lower penetration but dry slowly. If your line runs at high speed, slow drying can cause issues. Hot melt adhesives require precise temperature control but set quickly. For handle attachment, hot melt is the more common choice in high-speed production.
Look for a hot melt with high viscosity—above 1500 cP. High-viscosity adhesives have strong initial tack and don’t flow as readily as lower-viscosity options. This reduces the risk of migration into the cup surface. The adhesive should also have good heat resistance to maintain its bond without becoming too fluid during application.
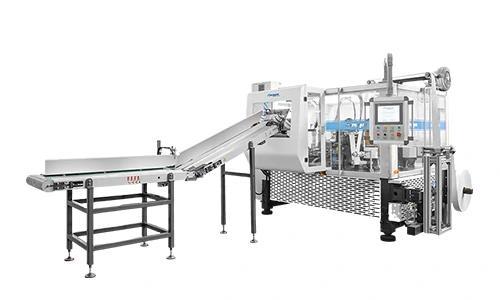
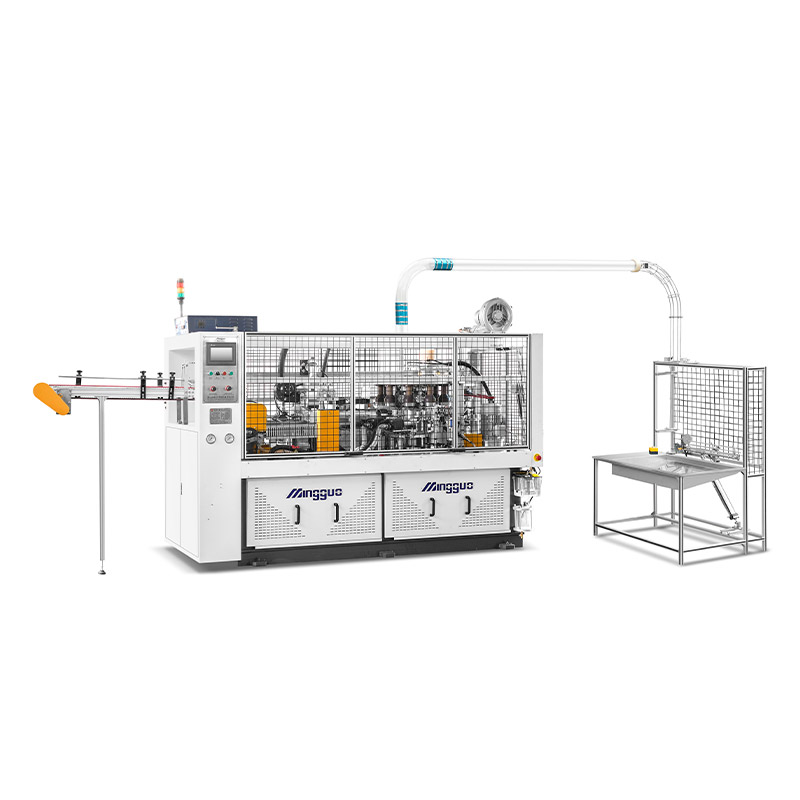
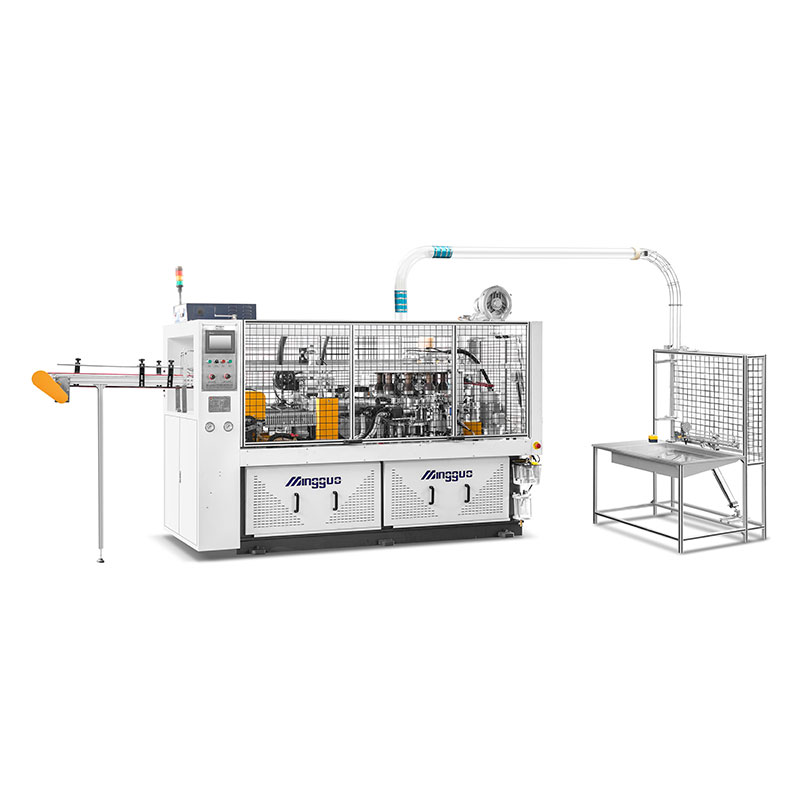
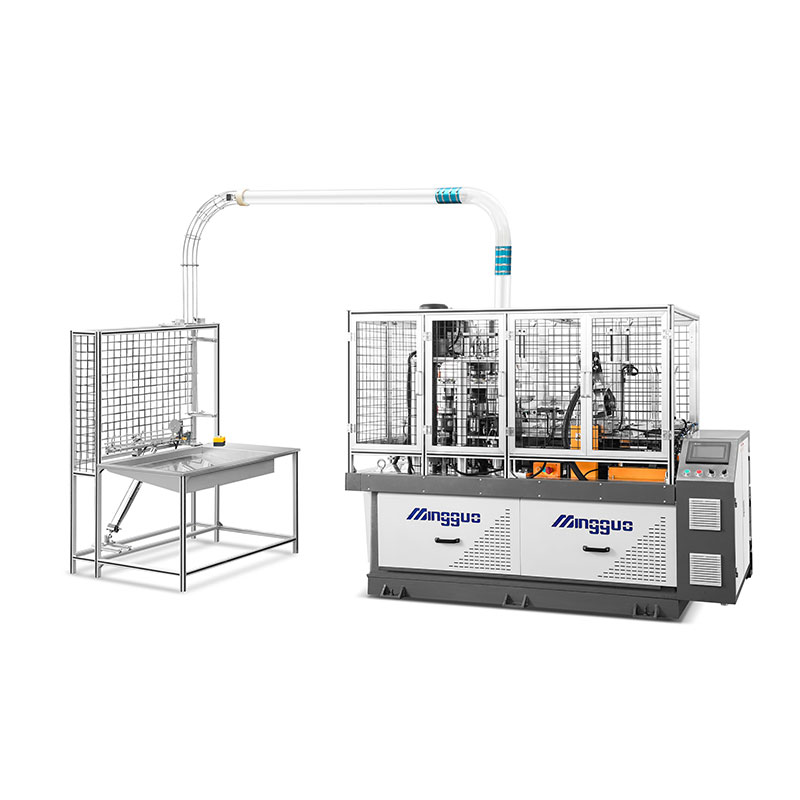
The MG-1000 High-speed Horizontal Paper Cup Forming Machine runs at speeds up to 200-260 cups per minute. At those speeds, the glue needs to set fast and stay where it’s placed. A low-bleed hot melt formulated for high-speed applications is the recommended choice.
Too much glue is the most direct cause of bleeding. Finding the right amount takes a bit of testing, but it’s worth the effort.
If you see glue oozing out from the sides of the handle attachment, or if the inside of the cup feels sticky, you’re using too much. These are clear indicators that the application amount needs to be reduced.
The ideal glue film thickness is 0.1-0.2mm—a uniform thin layer applied through a doctor blade or knurled roller. This thickness provides adequate bond strength without excess that can bleed out.
Here’s a practical approach: apply glue to 100 handles, weigh the handles before and after application, and calculate the average consumption per handle. Compare this against your target. This method gives you a measurable baseline and helps you detect drift over time.
Temperature directly affects glue viscosity. Run it too hot, and your glue becomes watery. Run it too cool, and it won’t bond.
Hot melt at temperatures above 190°C loses viscosity quickly. The glue becomes thin and runny, spreading beyond the intended bond area. This is a common cause of bleeding that’s easy to overlook.
For most hot melt adhesives used in cup handle attachment, the ideal range is 150-170°C. Adjust within this range based on room temperature and production speed. In warmer facilities, you might run at the lower end; in cooler environments, you might need to increase slightly.
Open time—the interval between glue application and handle placement—should be no more than 3 seconds. Beyond that, the glue may start to flow before the handle is pressed into place, increasing the risk of bleeding. The MG-1000’s automated system is designed to keep this interval tight.
| Factor | Recommended Setting | Risk If Out of Range |
|---|---|---|
| Glue Temperature | 150-170°C | >190°C: viscosity drops, glue flows |
| Open Time | ≤3 seconds | Longer: glue starts migrating |
| Glue Film Thickness | 0.1-0.2mm | Thicker: bleeding guaranteed |
| Hold Time | ≥0.5 seconds | Shorter: poor bonding |
Glue residue builds up over time. If you don’t clean it, it will degrade your glue application and eventually cause bleeding.
At the end of each shift, soak the nozzles in dedicated cleaning solution. This prevents carbonized glue from building up and affecting the flow pattern. A quick daily clean takes minutes and prevents hours of troubleshooting later.
Once a week, disassemble the glue gun and inspect the internal channels. Look for hardened glue blockages. If you find buildup, clean thoroughly before reassembling. This is particularly important for machines that run multiple shifts or produce high volumes of cups.
Keep a cleaning log. Note when nozzles were cleaned, what was found, and any adjustments made. This helps you spot patterns—for example, if you consistently find residue after certain production runs, that’s a sign that your glue settings may need adjustment.
The mechanical part of the process matters as much as the glue itself. Pressure and timing work together to create a clean bond.
If the pressure is too high during handle placement, it can squeeze glue out of the bond area and onto the cup surface. The pressure should be sufficient to create a strong bond—but not so high that it forces adhesive migration.
The hold time—the duration the handle is held under pressure after placement—should be at least 0.5 seconds. This allows the glue to wet the surface properly without squeezing out. Longer hold times can improve bonding, but they also reduce overall output speed, so there’s a balance to strike.
Uneven pressure can cause glue to be squeezed out on one side of the handle while the other side bonds poorly. Ensure that the pressing mechanism applies uniform pressure across the entire handle surface. The MG-1000’s horizontal forming design supports consistent pressure application.
Can I use less glue to avoid bleeding?
Yes, but there’s a minimum. You need to maintain a peel strength of at least 15 N/25mm for the handle attachment. Reducing glue below this threshold will cause handles to detach. The goal is the minimum amount that achieves the required bond strength.
Does humidity affect bleeding?
Yes, humidity affects water-based glues significantly. High humidity delays drying, giving the glue more time to flow and migrate before setting. If you’re using water-based adhesive, monitor humidity levels and adjust drying time or glue viscosity accordingly.
How do you clean already bled cups?
You can’t effectively clean glue stains from paper cups once they’ve bled through. The stain penetrates the paper fiber and can’t be removed without damaging the cup. Bleeding cups should be rejected and recycled. Prevention is the only practical solution.
Prevention is systematic. It’s not a one-time fix—it’s a process.
Create a simple record sheet for each shift: glue temperature, open time, film thickness (visually checked), and any observed issues. This gives you trend data and helps you spot problems before they cause rejects.
Once a week, run through the five prevention areas: glue type, application amount, temperature, cleaning, and pressure. Check each against your standards. If anything has drifted, adjust before the next shift starts.
Look for patterns in your data. If glue consumption is trending up over time, your application system may need recalibration. If you’re seeing more bleeding on certain cup sizes, your settings may need to be adjusted for different handle configurations.
MINGGUO Machinery manufactures automatic paper cup making machines with advanced automated control systems for stable operation. Their MG-1000 High-speed Horizontal Paper Cup Forming Machine handles up to 200-260 cups per minute and supports multiple cup sizes from 4-22oz. The machine’s design includes features that help maintain consistent glue application—critical for preventing bleeding.
The one-year warranty on the entire machine, remote control support for troubleshooting, and 24/7 fast response provide backup when issues arise. The free wearing parts included before shipment reduce the cost of maintaining your glue station components.
If glue bleeding is a recurring issue on your line, start with a systematic audit of your glue station. Check the glue type, measure the application amount, verify temperature settings, inspect the nozzles, and test the pressure. In most cases, the fix is straightforward and doesn’t require major equipment changes. When you need support, the manufacturer’s technical team can provide guidance on optimizing settings for your specific handle design and cup type.
Ready to optimize your paper cup production? Reach out to MINGGUO Machinery’s team—they can provide glue setting recommendations and technical support for your MG-1000 machine.
Paper cups specifications:
200 pcs/min
4-16oz(100-450mI) (mold exchangeable)
Paper cups specifications:
4-16oz (can be customized by max.26oz)
(100-450ml)(mold exchangeable)
Top:55-105mm
Height:60-135mm
Bottom:55-75mm
Paper cups specifications:
(100-350ml)(mold exchangeable)
Top: 55-90mm
Height: 60-110mm
Bottom: 40-65mm


