Causes of Wrinkled Sidewall in Automatic Paper Bowl Forming Machine
Publish Time:
Author:
Mingguo
Visit: 1120

You’ve seen it happen. The machine is running fine, bowls are stacking up, everything looks good. Then you pull a finished bowl from the stack and notice it — radial or wavy wrinkles crawling up the sidewall, especially near the rim curl. Some bowls are worse than others. Your customers won’t accept them. Cosmetic issues aside, wrinkled sidewalls are structural weak points where leaks start and product returns happen.
The frustrating part is that diagnosing a paper bowl machine with wrinkled sidewalls rarely has a single obvious cause. You adjust one parameter, the wrinkles shift patterns but don’t disappear. You swap out the paper roll, and the problem comes back two hours later. This article walks through the four most common physical causes — die gap mismatch, paper moisture extremes, insufficient vacuum, and uneven feeding tension — in the order an experienced technician would check them. By the end, you’ll have a systematic approach to diagnose any wrinkle pattern and a checklist to lock in smooth sidewalls every shift.
Let’s start where the paper actually takes shape: the forming die. This is the most common cause of wrinkles, and it’s also one of the easiest to fix once you know what to look for.
The forming die consists of a male punch and a female cavity. Between them there’s a gap — the die clearance — where the paper flows as it’s pressed into shape. If that clearance is off, the paper either gets squeezed too tight or isn’t constrained enough to form a smooth wall.
How the gap affects material flow. If the gap is too large — say, more than 0.25mm for standard paperboard — the paper has too much freedom during forming. The material shifts sideways as it’s pressed, buckling into loose waves and ripples instead of flowing smoothly up the sidewall. You’ll see wrinkles that look “puffy” or bulging, often distributed around the entire circumference.
If the gap is too small — below 0.08mm — the opposite happens. The paper is forced through a gap tighter than its thickness can accommodate. The material “crowds” and folds over itself to get through, creating sharp, concentrated wrinkles. In extreme cases, the paper tears at the rim or at the base of the sidewall.
Typical clearance range. For paperboard in the 300–400gsm range — the most common weight for disposable food bowls — the optimal die gap falls between 0.10mm and 0.20mm. Within that window, the material flows smoothly without excessive friction or freedom.
You’ll need a set of feeler gauges. Pick the gauge thickness that matches your target clearance — start at 0.15mm and go from there. Insert the gauge between the punch and cavity at several points around the die circumference. Measure at least four positions: 12 o’clock, 3 o’clock, 6 o’clock, and 9 o’clock. Write down each reading.
The difference between the highest and lowest readings — the runout — should not exceed 0.05mm. If you see a larger variation, the die isn’t concentric. That means the punch is shifted to one side, creating a tight gap on one side and a loose gap on the opposite side. Result? Wrinkles that are worse on one side of the bowl than the other — a telltale “one‑sided” wrinkle pattern.
For modern machines like the MG‑B600 series, servo‑driven adjustment of die gap allows operators to dial in clearance within ±0.05mm tolerance without disassembling the tooling. If your machine has this feature, use it. If not, keep a log of feeler gauge measurements and schedule periodic die alignment checks — every 500,000 cycles is a reasonable interval.
The second major cause lives in the paper itself. Coated paperboard absorbs and releases moisture from the surrounding air. That changes how it behaves under forming pressure.
High moisture creates soft, wave‑like wrinkles. When paper absorbs too much moisture — storage humidity above 60% RH for extended periods — the fibers swell and the board becomes soft and pliable. During the forming stroke, the softened material doesn’t hold its shape. Instead of a sharp, defined sidewall, the paper gets pushed ahead of the punch, folding into shallow, wave‑like wrinkles that span broad areas of the sidewall. Another symptom: bowls may feel slightly “limp” when you squeeze them.
Low moisture creates brittle, short cracks. The opposite problem — paper that’s too dry — produces a completely different wrinkle pattern. When paper loses moisture (storage below 30% RH, or paper left unwrapped in an air‑conditioned warehouse for weeks), the fibers shrink and the board becomes brittle. Under forming pressure, the brittle material doesn’t flow — it cracks. The wrinkles you see are short, sharp, and concentrated at specific points, often near the rim where the material is stretched most.
The ideal storage environment for coated paperboard used in bowl forming is 22±2°C at 45–55% relative humidity. Within that range, the paper reaches an equilibrium moisture content of approximately 5–8% by weight. Store rolls in their original moisture‑resistant wrapping until just before use, and allow at least 24 hours of acclimation in the production environment.
The “bend” test. Cut a strip of the paperboard about 50mm wide. Hold it flat and bend it 90 degrees. If it cracks with a sharp, audible sound and the crack line is rough and fibrous, the material is too dry. If it bends silently and feels doughy or leaves a permanent crease, it’s too wet.
The third cause is mechanical and often overlooked: vacuum pressure. During the forming cycle, vacuum applied through the punch holds the paper blank firmly against the forming tool. Without enough vacuum, the paper slides and shifts as the punch drives into the cavity.
Symptoms of low vacuum. Wrinkles that appear only on the lower third of the bowl — the area first contacted by the punch — are a classic vacuum problem. The bowl may also show uneven wall thickness: thicker on one side, thinner on the opposite side. If you’re running a machine with visual inspection, you might see the blank shift position slightly between the feed station and the forming station.
Where to look first. Check the easiest thing: the vacuum filter. On automatic paper bowl machines, the vacuum line includes a filter to catch paper dust and debris. Over time, that filter clogs. A partially clogged filter reduces vacuum pressure without setting off any alarms. The symptom comes and goes: good vacuum for a few hundred bowls, then a wrinkle outbreak, then good again.
Two quick diagnostic steps. First, listen to the vacuum pump when the machine is cycling. A pump that sounds labored or “pulsing” without the expected steady suction tone often indicates a partial blockage. Second, install a simple vacuum gauge in the line between the filter and the forming punch. Most production machines should maintain at least 0.06MPa during the forming dwell. If you see readings dropping below 0.04MPa during the cycle, you’ve found your problem.
Weekly cleaning of the vacuum pump inlet filter — reverse‑blowing with high‑pressure air — is standard maintenance. If your machine runs three shifts, check the filter every shift. Once the filter is clear, also inspect the vacuum hoses and fittings for cracks or loose clamps.
The final cause doesn’t happen inside the forming die at all — it starts at the feed station. The paper web must enter the blanking station with uniform tension across its entire width. If tension is higher on one edge than the other, the blank enters the forming station already distorted.
How side‑to‑side tension variation creates wrinkles. Picture a fan‑shaped paper blank. If the left side of the web is pulled tighter than the right side, the blank is stretched unevenly before cutting. When that stretched blank reaches the forming station, the tensioned side relaxes and the slack side buckles. The result: wrinkles that appear on one side of the finished bowl but not the other, usually running diagonally rather than radially.
Common causes. The most common culprit is a paper roll shaft that isn’t perfectly horizontal. Using a bubble level across the shaft ends is a five‑second check. Other causes include guide rollers that aren’t parallel to the feed direction, worn rubber rollers, and even paper rolls that were wound unevenly at the paper mill.
Quick field check: at the infeed of the machine, before the tensioning rollers, cut the paper web straight across. Let the cut end hang freely. If one side droops lower than the other — more than 10mm difference over a 500mm width — you have a tension problem. Fix it by leveling the roll shaft and ensuring all guide rollers are parallel. On machines with electronic tension control, check the HMI for left/right tension readings; they should differ by less than 10%.
With four possible causes, where do you start? Experienced technicians follow this order because it moves from “easy to check” to “most time‑consuming.”
First — vacuum. Thirty seconds to listen and glance at a gauge. Clean the filter or find the air leak.
Second — die gap. Five minutes with feeler gauges. Adjust if runout exceeds 0.05mm.
Third — paper moisture. Cut a strip, do the bend test. Check storage conditions.
Fourth — feeding tension. The hang test and alignment check. Save for last.
Keep a log of what you find and what you adjusted. Build a custom parameter table for each paper weight and bowl size.
Below is a quick reference table for wrinkle patterns and likely causes:
| Wrinkle Pattern | Most Likely Cause | Quick Test |
|---|---|---|
| Puffy, wave‑like all around | Die gap too large | Feeler gauge >0.20mm |
| Sharp, concentrated wrinkles | Die gap too small | Feeler gauge <0.10mm |
| Random patches, soft feel | Paper too moist | Bend test – no crack |
| Short cracks at rim, brittle | Paper too dry | Bend test – sharp crack |
| Wrinkles only at bottom of bowl | Low vacuum pressure | Gauge <0.04MPa during cycle |
| Diagonal wrinkles on one side | Uneven feeding tension | Hang test – droop >10mm |
| Inconsistent, comes and goes | Clogged vacuum filter | Inspect filter element |
Q: Can worn forming punches cause wrinkles even if the gap is correct?
A: Yes. Wear on the punch surface changes friction. A smooth, polished punch allows uniform sliding; a worn, scored punch grabs the paper in some areas but not others. Inspect punches for visible wear during every die maintenance cycle. Re‑polish or replace as needed.
Q: How often should I replace vacuum filters?
A: Replace the filter element every three months. In addition, back‑blow with compressed air once per week — or once per shift if running recycled paper that generates more dust.
Q: Does bowl depth affect wrinkle risk?
A: Deeply drawn bowls (sidewall depth >60mm) are significantly more sensitive. Deeper draws require the paper to flow farther, magnifying any inconsistency. For deep bowls, reduce forming speed by 10–15% compared to shallow snack bowls. The MG‑B600L model, designed for bowls up to 35oz (1,000ml), incorporates a low‑stroke turret design that maintains quality even on deep draws.
The MG‑B600 / B600M / B600L Paper Bowl Machine from Mingguo Machinery includes design features that directly address the four causes above.
The series uses helical gear transmission instead of chain drive. Gears don’t stretch, so timing between stations stays within spec even after thousands of operating hours. Chain‑driven machines can stretch 2–3mm after 5,000 hours, shifting registration and creating intermittent wrinkles. Gear drives eliminate that variable.
The open cam design allows operators to inspect each cam follower without removing guards — so you’ll spot a worn cam or bearing before it affects bowl geometry.
For the MG‑B600M variant, servo‑driven die gap adjustment lets operators dial in clearance within ±0.05mm directly from the HMI. No feeler gauges, no shims, no production stops.
The MG‑B600L variant includes a low‑stroke turret design that reduces travel time between stations by 15–20%, improving forming consistency on deeper bowls. On a 35oz bowl, the machine still holds 50 bowls per minute.
Mingguo’s technical support team recommends that every operator keep a log of die gap measurements, vacuum pressure readings, and observed wrinkle patterns. That log becomes your site‑specific reference for adjusting the machine when you switch paper suppliers or bowl sizes.
Before you run a new paper grade or a new bowl depth, run a short test batch and inspect the sidewalls. Document every adjustment and result. Build your own standard parameter table for each combination of paper weight, bowl size, and production speed. That’s how you lock in smooth sidewalls shift after shift.
This article was written with the assistance of AI to organise technical data and user insights from Mingguo Machinery’s product documentation and industry paper container manufacturing standards.
Need a quick reference for die gap settings on your MG‑B600 series machine? Contact Mingguo Machinery for a custom die gap setup card for your specific paperboard weight and bowl depth. Share your typical production specs — paper gsm, bowl size range, and target output speed — and their technical team will provide recommended starting parameters for wrinkle‑free forming.
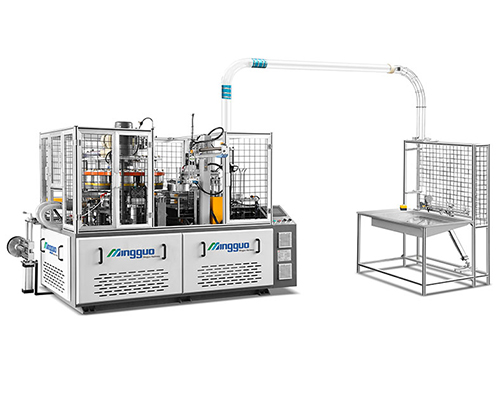
Paper cups specifications:
200 pcs/min
4-16oz(100-450mI) (mold exchangeable)
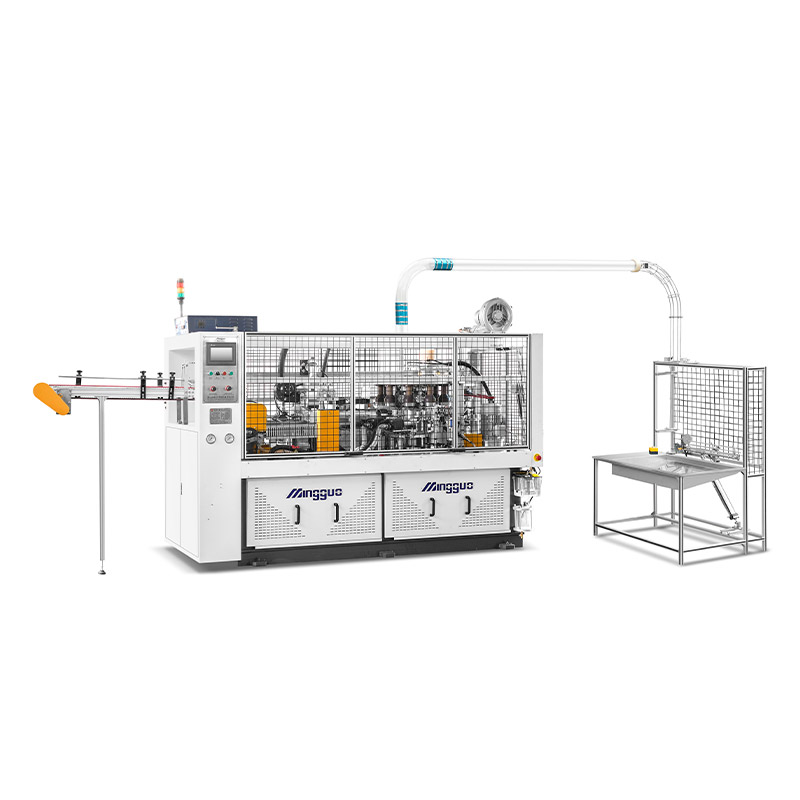
Paper cups specifications:
4-16oz (can be customized by max.26oz)
(100-450ml)(mold exchangeable)
Top:55-105mm
Height:60-135mm
Bottom:55-75mm
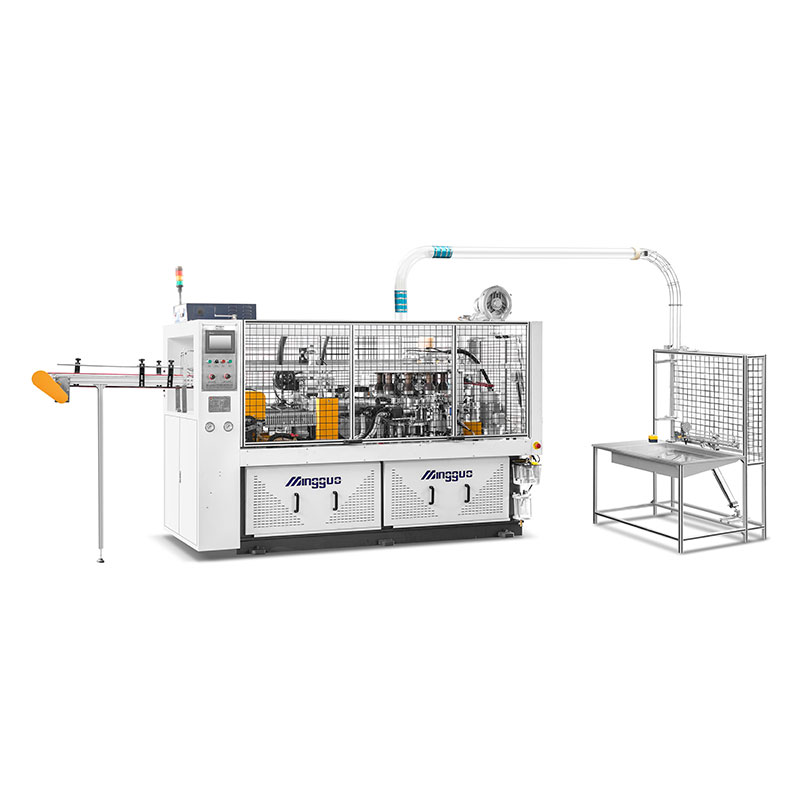
Paper cups specifications:
(100-350ml)(mold exchangeable)
Top: 55-90mm
Height: 60-110mm
Bottom: 40-65mm


